Common Mistakes When Photographing Harbors at Golden Hour
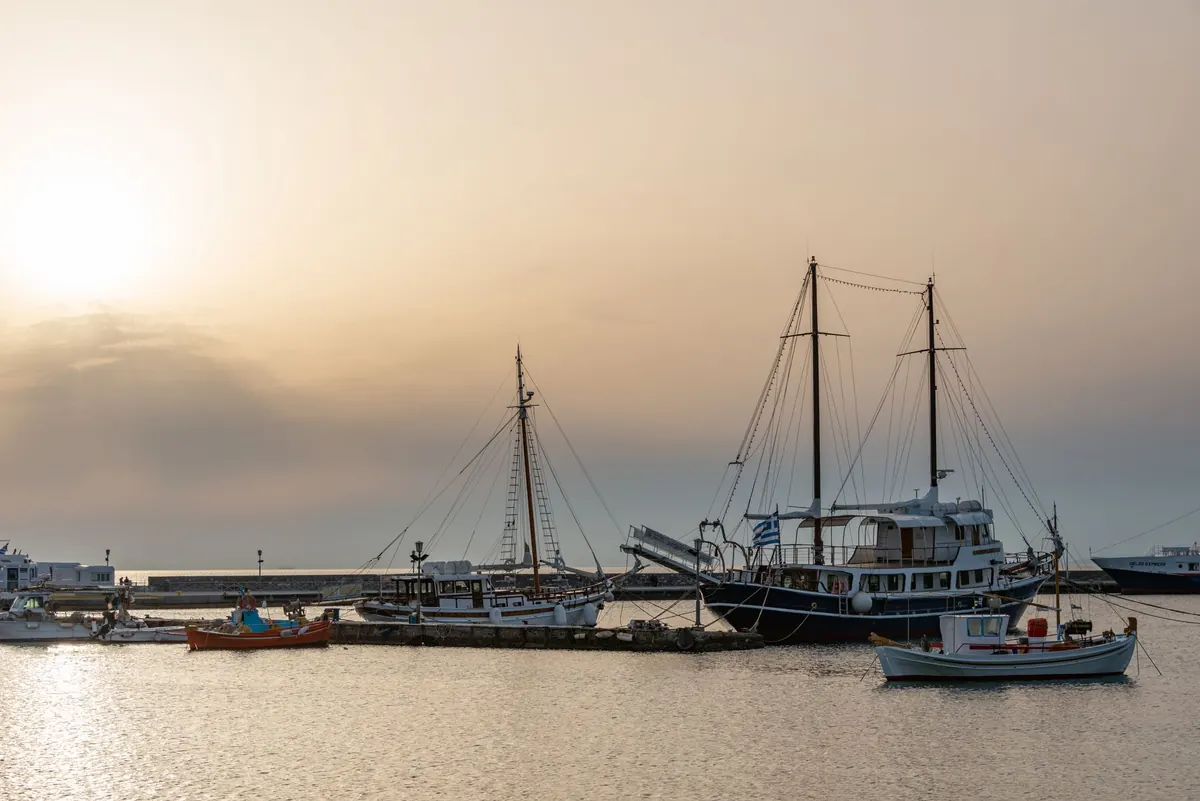
Golden hour in a harbor is generous. The light comes in low and warm, it catches on rigging and chrome cleats, and the water turns into a soft reflector that flatters almost anything you point it at. That generosity is also the trap. The scene looks so good to the naked eye that it's easy to walk away certain you got the shot, then open the files that evening and find a tilted horizon, a sky with no color left in it, and a forest of masts with nowhere for the eye to land. Most harbor photographs taken at golden hour fail for a handful of repeatable reasons, and nearly all of them can be fixed while you're still standing on the quay.
Arriving at Sunset Instead of Before It
Golden hour is not a single moment you can turn up for. The light in the last fifteen minutes before the sun touches the water is a completely different color and direction from the light forty-five minutes earlier. Photographers who check the sunset time, arrive at that hour, and find the sun already behind the hill on the far side of the bay are working with flat, grey light and wondering what went wrong.
Get there early. An hour before sunset is a reasonable starting point, and it gives you time to walk the quay, watch where the light actually falls, and find a position. Use a sun-position app or a simple compass to work out which side of the breakwater the sun will drop behind, and check the tide table as well as the cloud forecast. A low tide exposes mud, ladders and stranded dinghies that can ruin a foreground; a high tide turns the same spot into clean water.
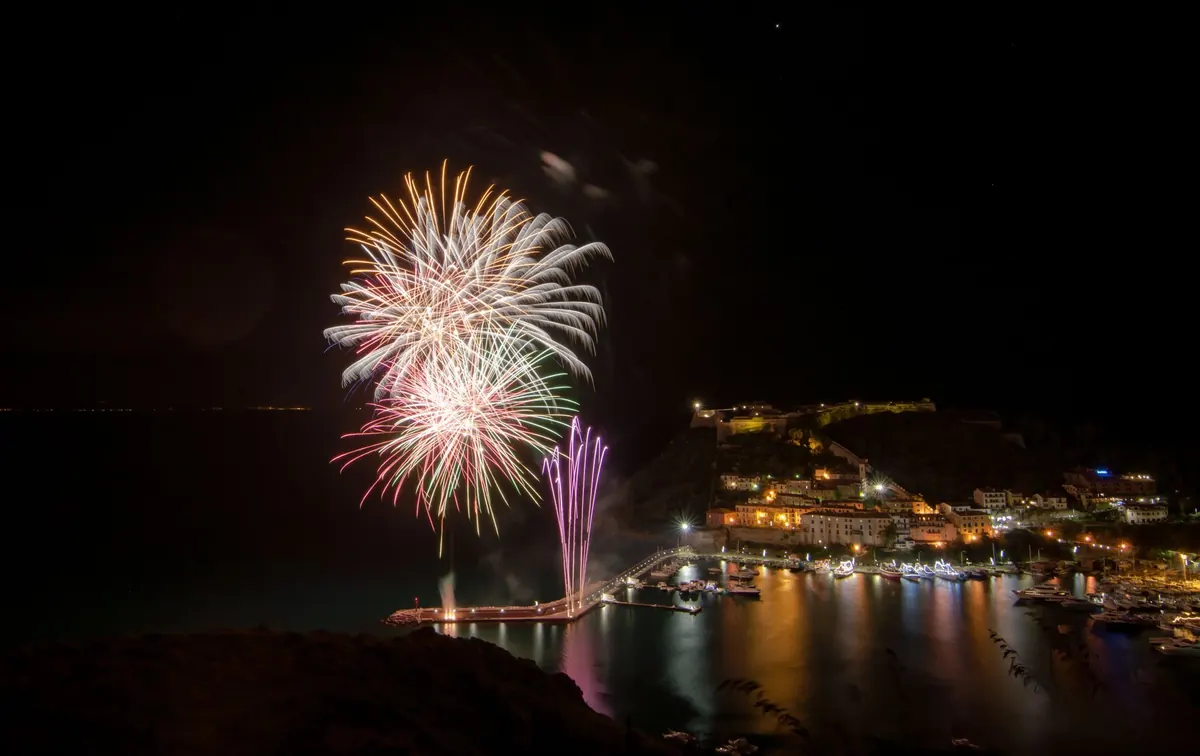
Don't leave when the sun disappears, either. The twenty minutes after sunset often deliver the richest color and the first harbor lamps switching on, which is exactly the mix of warm sky and tungsten glow that makes a harbor look like a harbor. In working ports, the morning version of golden hour is frequently better: calmer water, fewer people on the docks, and a rising sun that lights the boats while the town behind them is still in shadow.
Treating the Horizon as an Afterthought
A crooked horizon is the most common flaw in harbor photography, and water makes it impossible to hide. Turn on your camera's electronic level and glance at it every time you move position, not every time you press the shutter. A half-degree tilt that seems invisible on the back screen becomes obvious the moment the image fills a monitor.
Where you place the horizon matters just as much. Dropping it across the middle of the frame splits attention and leaves the viewer with two halves and no subject. Decide what the picture is about: if the sky has structure, give it two-thirds of the frame and let the water sit low; if the reflections are the point, flip the ratio. Then look for masts and pilings that slice through the horizon line or appear to sprout from a hull. Shifting two steps to the left usually separates them.
Letting Clutter Win the Frame
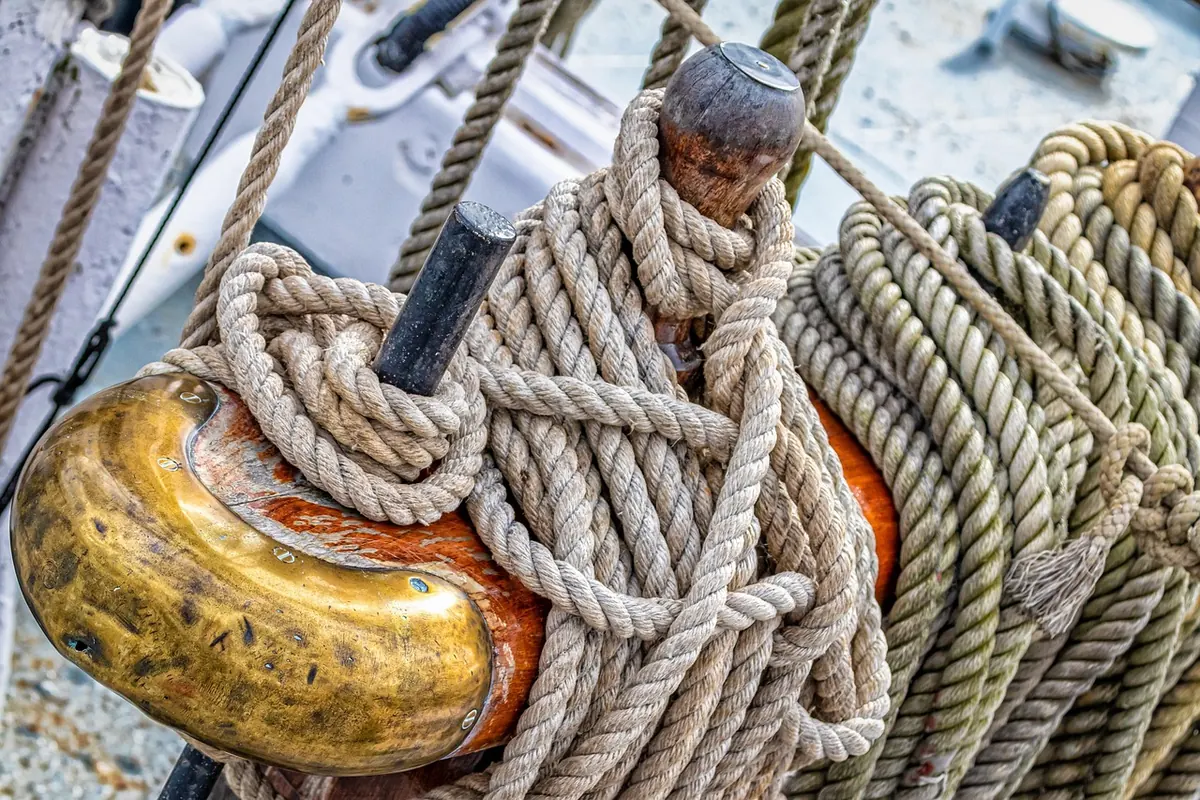
Harbors are crowded places. Bollards, coiled rope, life rings, parked cars, café signage, gulls, and a dozen boats you didn't choose are all competing for the same patch of light. The instinct is to include everything, because everything looks good. The result is a busy image with no clear subject and no path for the eye.
Pick one thing. A single hull catching the sun, a row of mooring posts marching into the distance, a reflection broken by a passing tender. Then run a quick check around the borders of the frame before you commit:
- Scan the four corners first, then the edges. Bright objects near a corner — a white hull, an orange buoy, a plastic chair — pull the eye away from your subject.
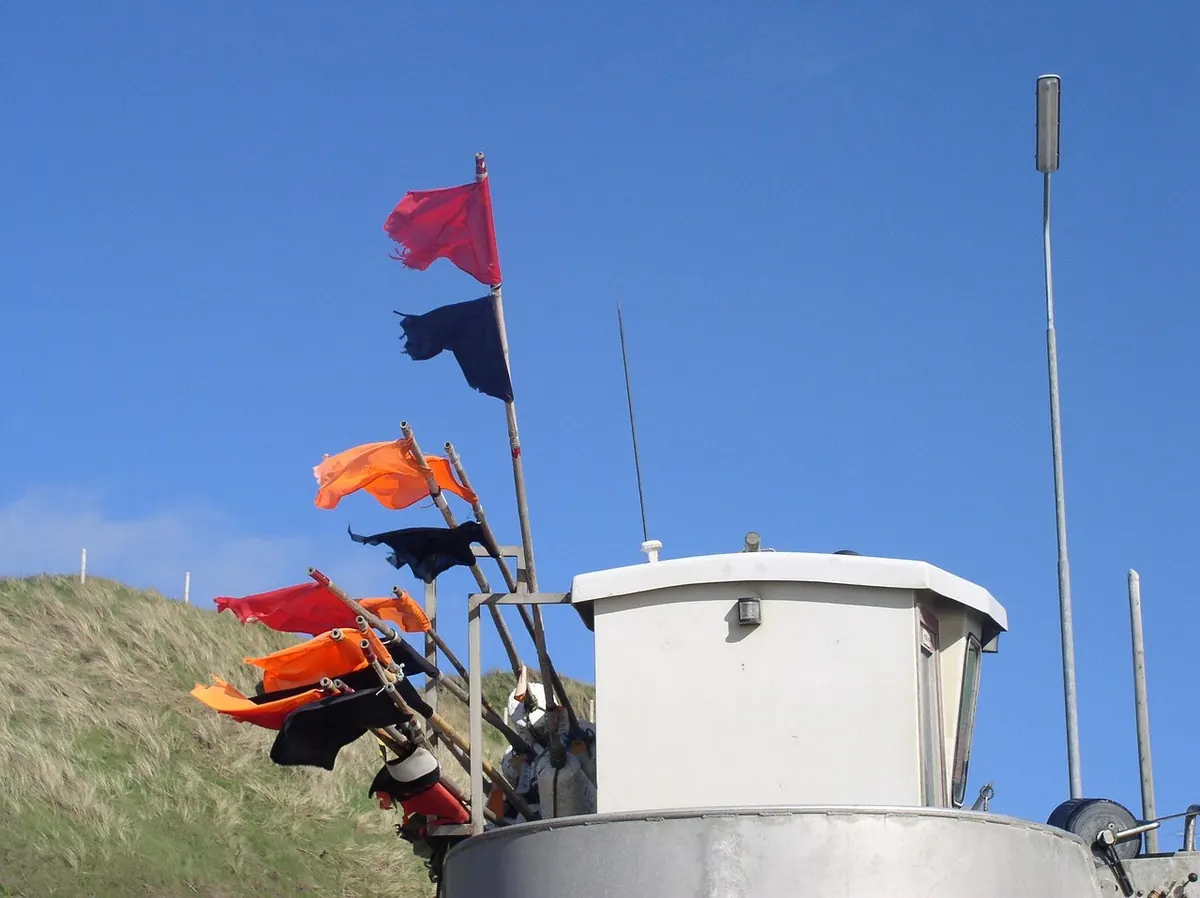
- Look for poles, antennae, wires and flags that appear to grow out of masts or hilltops, and move your feet until they don't.
- Check the sun's path. A gull or a mast crossing the disc can be the best part of the frame, or a smudge that ruins it.
- Watch the wind. Pennants and flags tell you which way rigging will swing and whether the water will be textured or glassy.
- Try the long lens before you default to wide. Compression stacks boats into layers and cuts out the car park behind them.
Exposing for the Sky and Losing the Boats
The sky near sunset is far brighter than the shaded side of a hull, and camera meters handle that gap badly. Matrix metering tends to protect the highlights and drop the boats into mud; meter on the bright water instead and the sky burns out to white. Neither is what you saw.
Decide what has to hold detail, then let the rest fall where it wants. At golden hour, silhouette is a legitimate and often beautiful answer: expose for the glowing sky and let the boats go black, as long as the shapes are clean and separated. If you need detail in white fiberglass, spot-meter off a mid-tone hull or a sunlit sail and check the histogram so the brightest highlights sit just short of the right-hand edge. Shoot raw, and bracket a stop either side when the contrast is extreme. A graduated neutral density filter helps on a clean, level horizon, but hard grad lines look obvious when masts cross them.
White balance deserves a mention here too. Auto white balance will sometimes try to neutralize the very warmth you came for, leaving a technically correct, emotionally flat file. Set daylight or shade and adjust later from the raw file.
Forgetting That Water and Boats Keep Moving
Shutter speed is the creative decision most often left on automatic. A thirty-second exposure can turn a still dawn harbor into silk, but at golden hour with a breeze running, it flattens chop into grey mush and smears every flag and halyard. Try a few options: around 1/250 to freeze gulls and ripples, 1/15 to let water streak, several seconds for smoothing. Use a solid tripod, a remote release or the two-second timer, and remember that a tripod on a floating pontoon inherits every wave.
Boats swing on their moorings, too. The composition you framed at seven o'clock may have rotated twenty degrees by half past. Re-check the frame rather than trusting the one you set up ten minutes ago.
Overcooking the Warmth Later
The temptation in editing is to push saturation and clarity until the sky turns magenta and the rigging grows halos. Golden hour already supplies the color. Most harbor files need a small lift in the shadows, a gentle recovery of highlights, and a nudge to the white balance — nothing more. If the water looks like syrup and the clouds look painted, pull back.
A Short Harbor Golden Hour Routine
Arrive an hour before sunset with the tide and cloud forecast checked. Walk the quay once without the camera out, and note two or three positions where the light will land. Level the camera, choose your subject, and clear the edges. Meter for what matters, shoot raw, and bracket when the sky is bright. Stay for the twenty minutes after the sun goes down, then review on the spot at full brightness rather than trusting the small screen.
None of this requires better gear. It requires getting there earlier, slowing down at the edges of the frame, and deciding what the photograph is actually about before the light leaves. Do those three things and the harbor will do the rest.
Photo: Diego F. Parra / Pexels