How to Tie a Basic Mooring Knot: Step-by-Step for Beginners
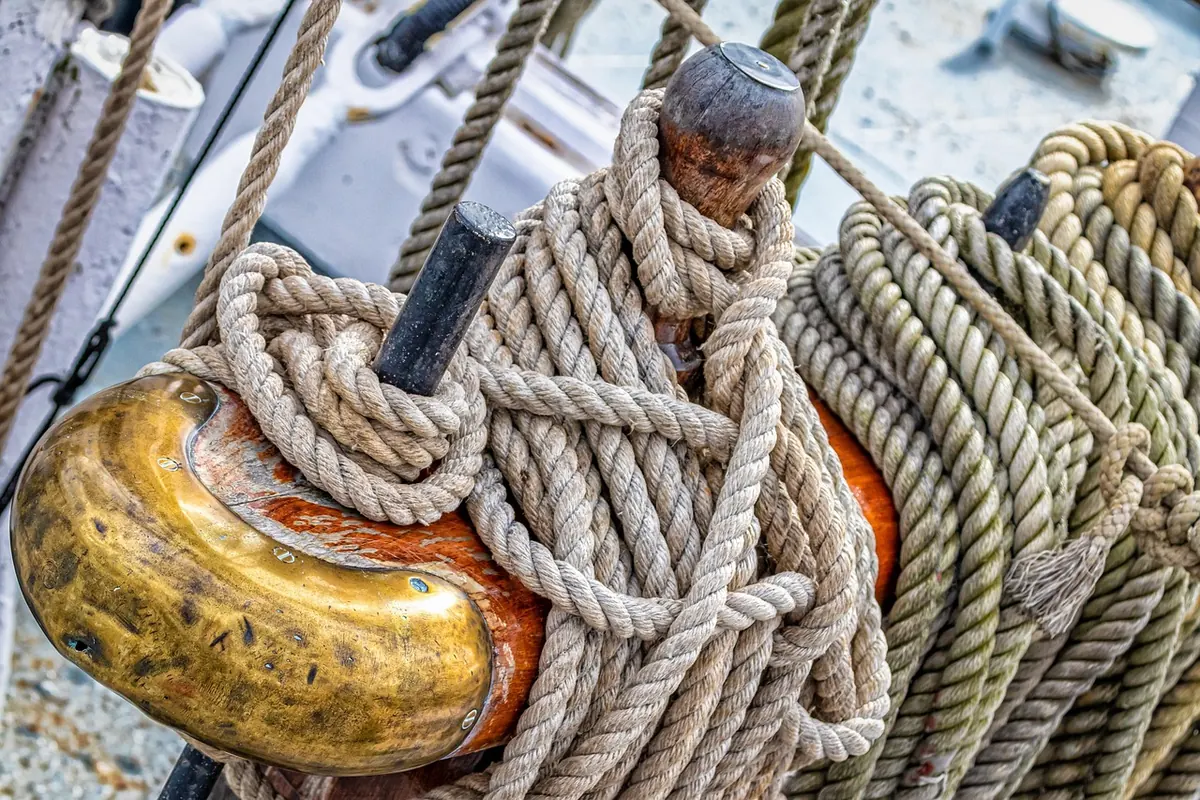
The wind is pushing the bow off the dock, you have one hand on the rail and a coil of line in the other, and the person on the pontoon is waiting for you to do something useful with it. This is the moment most beginners discover that a knot you cannot tie calmly is not really a knot at all. The good news: the one you need most often at a mooring is also one of the simplest, and it takes about four seconds once your hands know it.
What follows is the cleat hitch, the everyday mooring knot for securing a line to a dock or deck cleat. It holds under load, it comes apart quickly even when wet, and it can be tied in the dark with cold fingers. We will also cover the bowline for the times there is no cleat at all, the mistakes that make dockside helpers wince, and how to practise so the knot is in your hands before you need it in a hurry.
The Cleat Hitch: One Knot, Every Time
A cleat is that T-shaped fitting with two horns and a base, bolted through the deck or the dock. It is deliberately shaped so that a rope can be wrapped around it and held by friction rather than by a tight, jammed knot. The cleat hitch works with that shape instead of fighting it.
What makes it the right knot for beginners is that it fails gracefully. Tie it well and it takes a serious load. Tie it sloppily and it usually still holds long enough for you to notice and redo it. Compare that with a knot that locks solid under strain and then has to be cut free at the end of a long day, and you can see why the cleat hitch is worth learning before anything more ambitious.
Before You Take a Turn
Most mooring problems start before the rope touches the cleat. Run through this quickly each time:
- Check both ends. One end to the boat, one to the dock. Sounds obvious until you have watched a line slide overboard with nothing attached.
- Lead the line fairly. A rope should approach the cleat at a shallow angle, close to the base, not down from a stanchion or up over a rail. A high lead puts sideways strain on the fitting and can work the knot loose.
- Keep fingers clear. Never wrap a loaded line around your hand. Take a turn around a cleat, bollard or winch first and let friction do the holding.
- Allow some slack. A mooring line should let the boat move a little with the tide and wash. A line bar-tight in the evening can be dangerously strained by morning.
Tying the Cleat Hitch, Step by Step
Stand so the line comes to the cleat from the direction it will pull. Take the working end — the loose end — and follow these steps:
- Take a full turn around the base. Pass the line around the base of the cleat, under both horns, starting on the side away from the pull. This first turn is what carries most of the load.
- Cross over the top. Bring the line diagonally over the top of the cleat, across to the far horn.
- Go under the far horn. Pass the line under that horn and back over the top, forming a figure eight.
- Repeat once, at most twice. One or two figure-eight crossings is plenty. More than that and the hitch will jam when the line comes under heavy load.
- Finish with a locking hitch. On the last crossing, fold the line back on itself to make a small bight, pass that bight under the crossing turn, and drop it over the horn. Pull the standing part to snug it down.
- Check the tail. Leave a good forearm's length of loose end and tuck it where it will not dangle into the water or catch a foot.
Getting the Locking Hitch Right
The finishing hitch is where most beginners go wrong, and the error is easy to spot: if the locking loop sits on the same side as the direction of pull, the load will pull it tighter and tighter until you cannot release it. The bight should sit so that the pull works against the horn, not into the lock. Test it by giving the line a firm tug and then trying to undo it with one hand. If it comes free easily now, it will come free when it matters.
Common Mistakes Beginners Make
- Too many wraps. Three, four, five figure eights feel reassuring and turn into a solid block of rope under strain. Two crossings and a lock is the working standard.
- Tying to the wrong thing. Stanchions, rails, and lifelines are not mooring points. They bend, they pull out of the deck, and they cost far more to repair than a proper line.
- Rope too thick or too thin for the cleat. A line much thicker than the cleat's base will not seat properly; a very thin line on a big cleat can slip. Match the line to the fitting.
- Forgetting chafe. A line rubbing on a fairlead or dock edge will wear through quietly. Add a chafe guard or reroute it, and check the contact points each time you come aboard.
- Ignoring the other end. A perfect hitch on the boat with a sloppy one on the dock is half a job.
When There Is No Cleat: The Bowline
Pilings, bollards, rings and mooring posts often have nothing to hitch to. That is the bowline's moment. It makes a fixed loop that will not tighten around whatever it is passed over, and it undoes easily after being loaded.
- Measure roughly a metre from the end and form a small loop in the standing part, with the loop's tail side facing you.
- Pass the working end up through that small loop.
- Take it around behind the standing part.
- Bring it back down through the small loop, following its original path.
- Hold the loop and pull the standing part to tighten.
The old memory aid still works: the rabbit comes out of the hole, goes around the tree, and back down the hole. Two practical notes. First, a bowline can shake loose when a line slackens and snaps taut repeatedly, so finish it with a stopper knot in the tail or a couple of half hitches around the standing part. Second, any knot costs a rope some of its strength, which is one more reason to size your mooring lines generously rather than marginally.
Practise on Dry Land First
Sit on the sofa with a metre of scrap line and tie the cleat hitch twenty times while doing something else. Then do it with your eyes closed, then with gloves on. That is not a stunt; it is the point. The knot has to be available to your hands when the wind is up and someone is shouting a distance across the water.
At the dock, take a minute to walk the lines before you leave the boat. Check that each hitch is seated, each tail is tidy, and each line has a little give. Keep a spare line aboard, learn to coil so it runs out without tangling, and rinse salt off ropes occasionally — grit works its way into the fibres and shortens their life.
The Skill Worth Having Before You Need It
Mooring is mostly preparation and calm repetition. Learn one hitch properly, use it every single time rather than improvising, and you will stop thinking about the knot at all. That frees your attention for the things that actually deserve it: the wind, the tide, the other boats, and the person on the pontoon waiting to catch your line.
Photo: analogicus / Pixabay